Welcome to round 4 of the F1 Virtual and friends hot-lap league. The last round at Portimao was quite close, different drivers showing different strengths at different parts of the race track. The championship, however, doesn't reflect the competitive nature of each round, with lots of close battles at the front, not least with Gildoorf and Fongu (that's me) battling at the front, often trading places from corner to corner. I really do have to thank Carl for his great comparison videos that really show the drama and the tiny details that make the difference between first and second.
For the first three rounds (and a little more time) I had done some laps on keyboard, before switching to the steering wheel. For this round, I will be solely using the keyboard, leaving only Carl_gpgames on the wheel. We've been using the 2013 release of the F1 Virtual Barcelona track, based on 2011 - there was not enough time for an updated track with the new turn 10 this time around.
With the quick turn around, you'd think we would all be concentrating on our laps but we're really starting to get competitive and that's usually when the controversy begins. This week, I think all the controversy originated from me! Firstly there was the popular topic of...
Track Limit-gate
As noted last time, the rules state that we must keep at least one wheel inside the white lines at all times, though kerb usage is allowed. But Barcelona offers a number of places where running outside of the white lines can gain an advantage.
I ended up running with the highest downforce setting, because in the long corners I wanted to be on the throttle for as much of it as I can. If you get the right trajectory (not easy) through turns 1, 2 and 3, with full wings and low fuel, you can stay full throttle and stay within the track limits. But if the stars do not align, then you would use the extra tarmac on the outside, which the real drivers have been doing for years. Having said that, it's a little bumpy out there and you can easily lose time in the run-off.
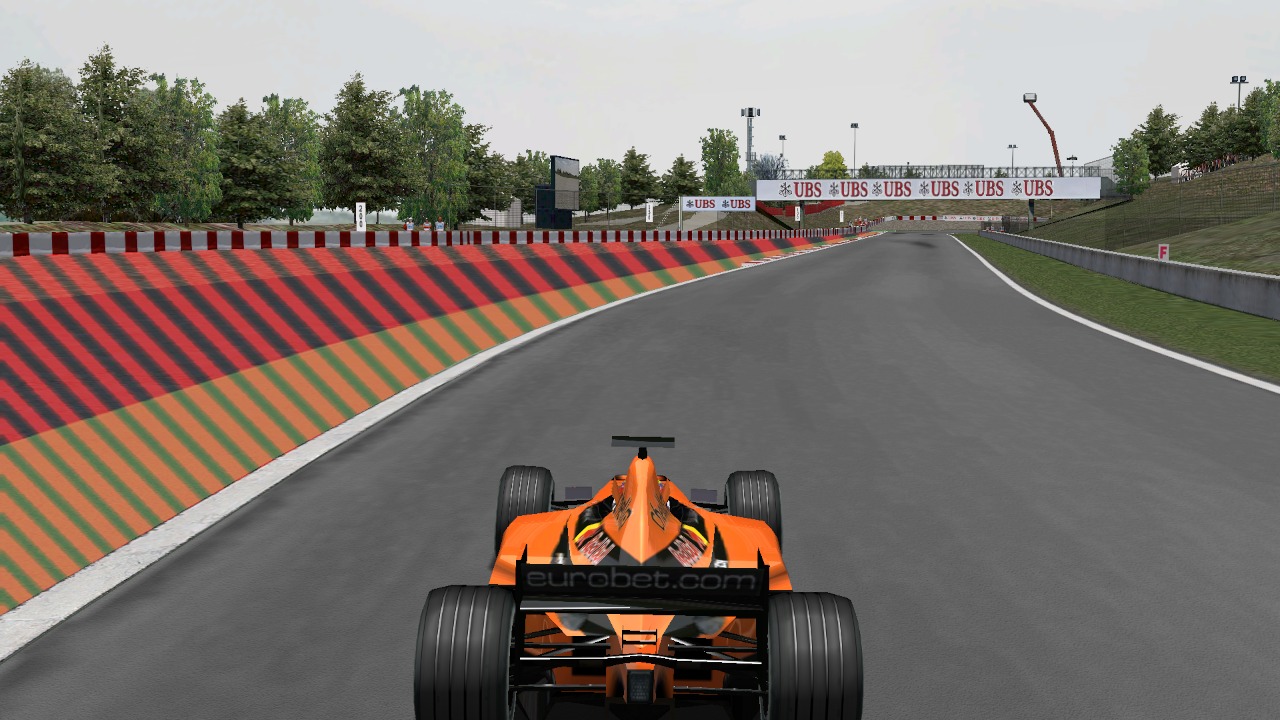
Exit of Turn 3
By the way, these shots are from Prblanco so thanks for these shots clarifying the rules!
The next trouble spot was the exit of turn 8. There is the kerb, which is allowed, then there's a small strip of astroturf (yellow line) which is not allowed, and an extra sausage kerb, also not allowed. Again it's so easy to run wide here off turn 7 and cut turn 8, but again the car can bottom out on the sausage kerb and you can end up losing time.
Turn 8
The exit of turn 9 was tricky, with the tarmac of the old track not allowed, but the cc-line encouraged you out there. Even the red painted tarmac is counted as off track. After many attempts, I never managed to get through turn 9 on full throttle. I think it's possible though, because on my hotlap, I take the slightest of lifts off the throttle, but there's room on the exit.
Exit of Turn 9
The hardest part of the track is the final chicane, turns 14 and 15. There's a big sausage kerb on the inside, and it seems they installed a magnet in turn 15 that really wants to suck your right rear wheel over it, which destabilizes the car and forces you to run wide.
Exit of turn 15
On my first competitive run, setting a time of 1:21.5, I was off-track twice and very close to it on the other two, literally 3 and a half wheels over the white line, so we needed clarification of track limits.
The second controversy of the week was...
Fuel burn-gate
In F1 today, tyre management is key to a good lap time, so we see them doing all kinds of things to keep the tyres in the best temperature window to extract the most out of them. In GP4, there's nowhere near that level of complexity, but tyre wear is an important factor, as is the amount of fuel you have in the car. A light car brings many advantages, the car is more nimble around the corners, allows you to brake later and you can take more speed through corners.
The rules, as they are written, is that you have to start your out lap with 10 laps of fuel. The tyres are usually good for two (potentially three) runs before the performance drops off. So the trade off is usually i) do you want a light car with worn tyres, or ii) fresh tyres with lots of fuel. In my experience, the second option is usually better.
I remember being in a GP4 hotlap league like 16 years ago, where there were no restrictions on setup or fuel, so you pick a setup running the car as low as possible, enough to get you around 1 lap before it penalized your top speed. So you'd do your outlap running as slow as possible, not bottom out your car, take as little life out of your tyres as you can, and run the fuel down so you only had enough fuel for one lap. I'd save the game just before the lap so I could quickly reload the game after each attempt. I had this idea for early rounds, but I didn't really use it, because 10 laps of fuel is a lot of fuel to burn (without blowing up your engine) in one lap, and I wanted to keep track of how many laps I did overall (over 100).
Barcelona is not one of my favourite tracks, in fact I thought I'd be pretty bad at it. My initial times were around 1:21.7 (legally within track limits), knowing I could shave off 2 or 3 tenths off on a perfect lap. I thought I'd give fuel-burn ago here, starting my hotlap with around 4 laps of fuel initially and on the second lap, I set a time of 1:21.2. As I knew this was a loophole, I submitted my hotlap early to the team to see if anyone had noticed what I'd done and have time to try the same. It wasn't long before Gildoorf was beating my time.
In light of this, the 10 laps of fuel rule will be scrapped at the next round, but the question is, how extreme do I fuel-burn and how quick can I go. I used my technique above, but I had 2.5 laps of fuel, so I could do 2 hotlaps together, I find it helps me get into a rhythm for a quick second lap. In the end, I set a 1:20.7, and literally as I was crossing the line to set that time, I saw that Gildoorf also submitted his lap, a 1:20.7! But who was quickest out of us two and would we be fighting for fastest time again?
The Hotlaps
With all that being said about fuel-burn, it was only myself and Gildoorf who maximised this benefit and that in large part is why there is such a difference in lap time. So I'll compare our laps, and then Prblanco, Duffer, 32bobo32 and Carl's laps together and then some general tips for Kerley's lap.
The midfield battle: 32bobo32 vs Carl_gpgames vs Duffer vs Prblanco
0:12 - Carl is running with a default setup and is the fastest of all of us down the straight taking an early lead into turn 1. 32bobo32 locks up slightly and compromises his lines through the first two turns. Carl is ahead into turn 3, the other 3 are inseparable at 0:19. With Carl's lower downforce, he has to lift more, and on the exit of turn 3, 32bobo32 and prblanco have closed in on him.
0:27 - After the first sector, and the three of them set 20.6s with Duffer dropping two tenths in turn 3. Into turn 4 and 32bobo32 has run the entire lap without traction control on so far and is struggling to contain the power on the exit of turn 4. Prblanco and Duffer both keep TC on and at 0.33 under the shadow, Prblanco takes a convincing lead and Duffer has closed in on 32bobo32, whilst Carl has dropped back a bit. Into turn 5, and 32bobo32 runs a wider line, whilst Carl on the wheel keeps maximum lock on for as long as possible.
0:41 - Using the shadow under the bridge as a guide, Prblanco maintains his lead, with Duffer and 32bobo32 very close together and Carl slightly behind now. Through turns 7-8 and Carl keeps a tight line on exit, not using the sausage kerb in turn 8, but is the only one to turn off TC to gain acceleration on the exit and he's by far the quickest out of that turn. But it's 32bobo32 who has taken the midfield lead now, followed by Prblanco, Duffer and Carl.
0:52 - Under the bridge at the exit of turn 9, and Carl is the only one to tap the brakes, having much less confidence with his lower downforce setup. Prblanco and Duffer in particular, using all the available exit tarmac that is legal and are now carrying more speed on the run up to turn 10.
0:59 - That's the second sector done, and it's super close between Duffer, 32bobo32 and Prblanco with Carl dropping back. Overall it's 32bobo32 (51.310), then Prblanco (51.319) then Duffer (51.358) and Carl (51.491). Absolutely nothing between them, and everything to play for in the final sector.
32bobo32 locks up again and runs very wide (possibly dreaming of the new 2021 turn 10), and Duffer also runs wide but not as much. This propels Prblanco into the lead of this tight battle and Carl closes in once more.
1:09 - Into turn 12 and it's Prblanco's turn to run a wider line. I do the same (reasons to be explained later), but I stay wide on exit whilst Prblanco comes back onto the racing line, carrying greater speed on exit than the others, but it could have been more. Prblanco and Duffer are neck-and-neck now, and 32bobo32 holds the slenderest of advantage over Carl. Duffer runs a much tighter line through turn 13, though slower, gives him the best line for turns 14 and 15. This shows, as Duffer and Carl both take turn 14 at least 10kph faster.
1:18 - But for all of Duffer's advantage through 14 he really clatters into the sausage kerb in turn 15. Amazingly he makes it work for him, his car is stable throughout and he maintains a good exit. He is first to the white line into turn 16, just ahead of Prblanco, then 32bobo32 and Carl. Duffer completes that sector two-tenths faster than the rest of the midfield, matching Gildoorfs time through there.
1:27 - Over the line and Duffer just beats Prblanco by a tenth of a second, with 32bobo32 just 0.060 seconds behind and Carl within two tenths at the end. A truly gripping and fantastic battle, great job guys.
Kerley's lap
Sector 1 - Kerley is clean and tidy through the first three turns, matching Duffer's pace. He could have carried a little more speed through turn 1, but it's turn 3 where he could have lifted a little less off the throttle as he has room to spare on the outside.
Sector 2 - Kerley runs really wide in turn 5 and it's here that he loses touch with the midfield. Turns 7 and 9 lack a bit of confidence, whilst the others are wrestling their cars on the exit trying to stay within track limits. I think a bit more time and practice will cure that.
Sector 3 - Kerley has clearly been taking notes from my last blog post, easing off the brakes at the end of the braking zone to help turn in and gets a really good turn in at turn 10. But again he could be a little earlier on the acceleration. The rest of the sector looks good, making the most of a wide exit out of turn 15.
I don't mean to pick on Kerley by singling him out in this post, but he clearly has the talent to trouble the midfield, I honestly just think it's about getting the practice in, gaining confidence and work on getting good exits, which to me is worth more time than being last of the late brakers.
Schumacher vs Hakkinen; Hamilton vs Verstappen; Senna vs Prost; Fongu vs Gildoorf
0:12 - Again, we have a slight difference in setup, though interestingly, both of us running with much more rear wing than front wing. On this occasion, I'm running the higher downforce setup, and I'm 5kph slower down the straight. Gildoorf is slightly more confident in the first two turns, both of us running similar lines with a wide entry into turn 3. Gildoorf has a slight lift in turn 3, but it doesn't matter, he's carrying more speed out of it. Notice I take a bit of inside line at the exit of turn 3 to shorten the track distance a touch.
0:27 - First sector times are in and Gildoorf aces the first sector and is a tenth ahead. Into turn 4 and I use a slightly wider line to try and maximise speed on exit. Both of us turn off traction control but I have a bit of slide and lose precious time. I miss my apex in turn 5, but it's a bit forgiving and allows you to get a good exit to gain back any time lost.
0:40 - Under the shadow of the bridge, and there is nothing between us. Turns 7-8 are taken almost identically, both of us using a lot of exit kerb. Under the shadow at 0:48 and it looks like I have the slightest of leads. Into turn 9 and look at how much the steering help is working overtime on Gildoorf's car, my higher downforce giving me an advantage here.
0:59 - Second sector times have been set and I had the stronger sector, but Gildoorf still has a 0.12 second advantage, but after turn 10, it looks like I've taken the lead.
1:04 - Here's where our lines are different, or rather how my lines are different from everyone elses. Into the right hander at turn 12, it looks like I run wide, but that's deliberate because I want to build speed offline and at 1:08, I'm travelling with around a 8kph advantage at the start of the exit kerb. In Turn 13, I come off the brakes a bit sooner which forces me to the left which will compromise me into turn 14, but I make sure I'm lining up for the all important turn 15. For me, I run as little kerb as possible, as I don't want to hit that sausage kerb which unstablises the car on exit.
1:19 - Despite my unconventional lines and counter-intuitive driving style through turns 12-15, I've slightly eeked out a lead at the white line just before the final bend, which I try and keep a tighter line for a shorter run to the line. If I was driving on the wheel, I'd be scrubbing off speed doing that. By the finish line and Gildoorf is already reeling me in with a less draggy car, will this be pay-back for Bahrain when the situations were reversed? (in the voice of Murray Walker 1994 Japanese GP finish) 0.061 seconds! That is close, but I sneak another close victory from Gildoorf who also put in an excellent lap. When the gap is this close, all the details I've been pointing out count.
Championship Standings
Well it's been a bumper edition, so well done if you're still reading this! The standings are:
40pts - Fongu
24pts - Gildoorf
12pts - 32bobo32
10pts - Duffer
09pts - Carl_gpgames
07pts - Prblanco
02pts - Kerley
The table simply does not do justice to the incredibly close battles Gildoorf and I are having at the front. If I had used the keyboard all the way through, this would have been my only victory and the table would be quite different. Duffer is already up to fourth after missing out on the first round, his stand-out final sector at Barcelona earning him a podium and 4 points this round. The midfield battle remains quite close though, and it will be interesting to see if it remains that way as we head to Monaco for the next round of our hotlap league.


This comment has been removed by a blog administrator.
ReplyDelete